The plane landed at Narita airport around 1pm and the immigration clearance was a breeze. I bought the airport limousine ticket to Shinjuku (3000 ¥), and thereafter I had to catch the highway bus to Kawaguchiko (1700 ¥). The ride from the airport to Shinjuku took approx. 1 ½ hrs and it was another 1 hr 45 min from Shinjuku to Kawaguchiko. I set off early to explore the place the next day. You could take the retro bus at the Kawaguchiko station which cruise round the island. Kawaguchiko is well known for the Fuji Five lakes.
Journey to Mt Fuji (3,776m)
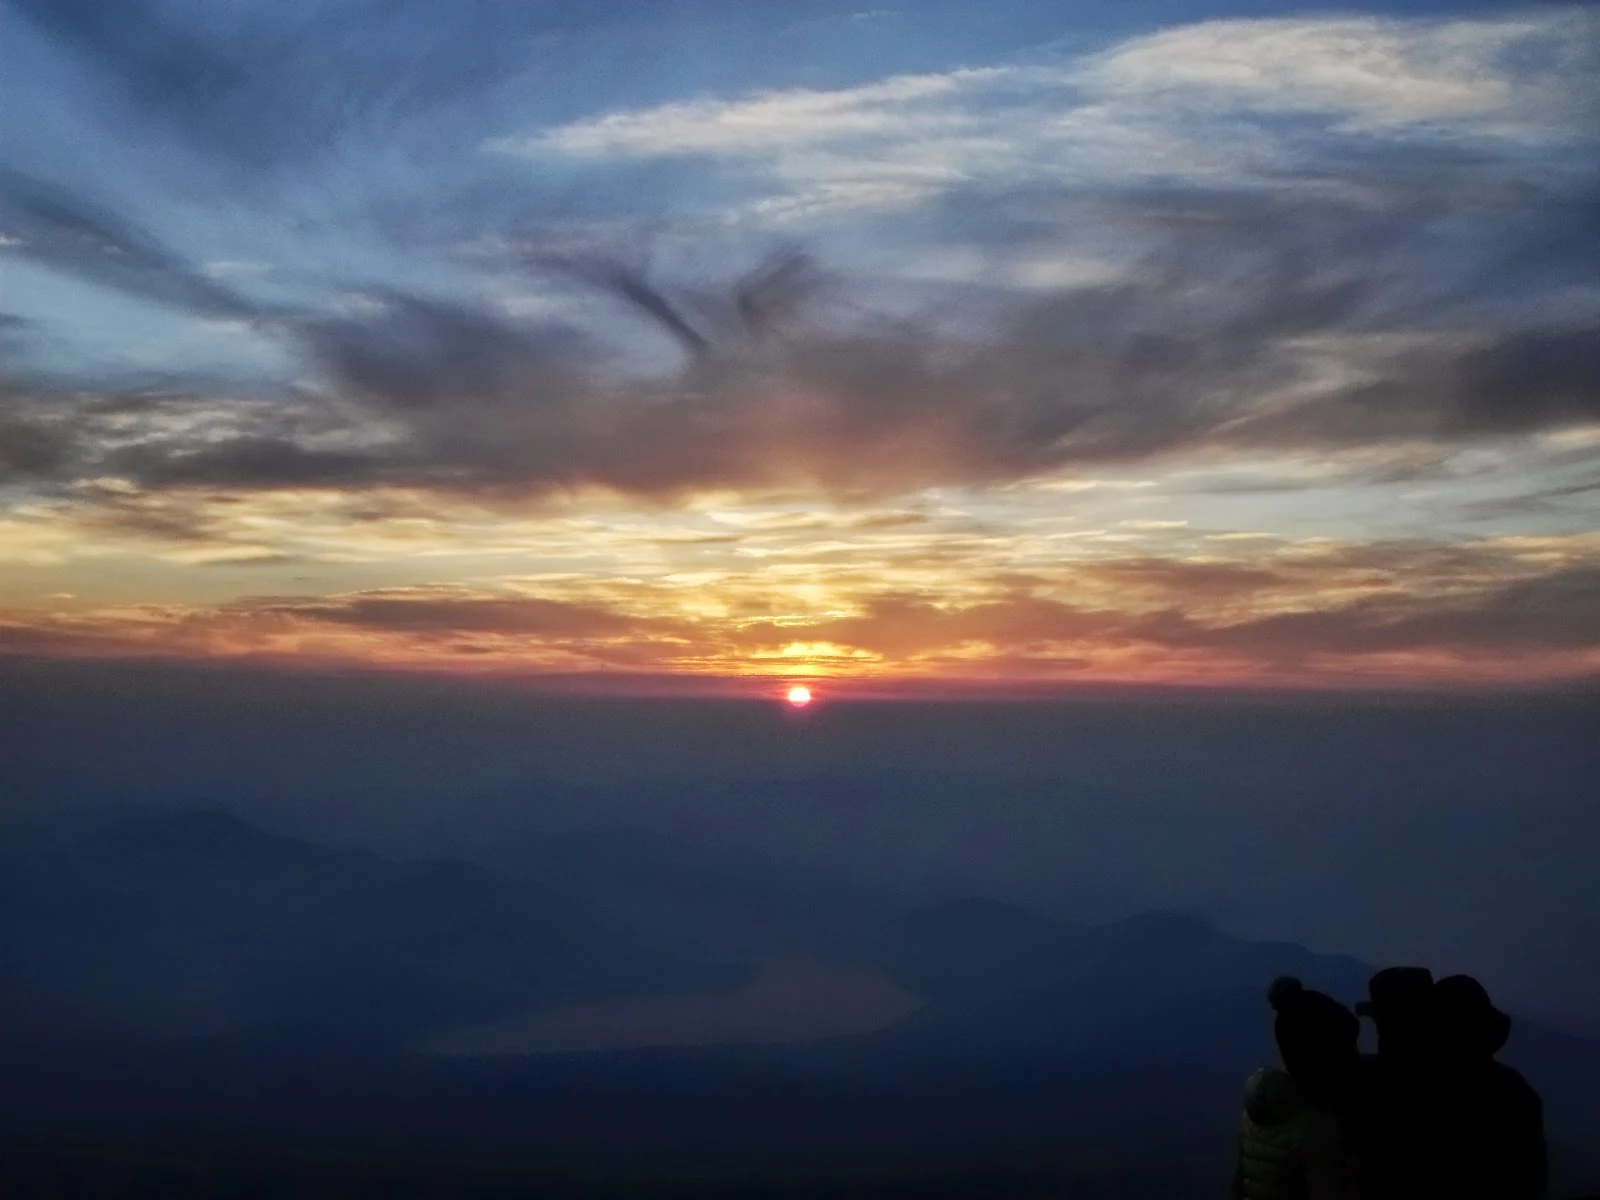
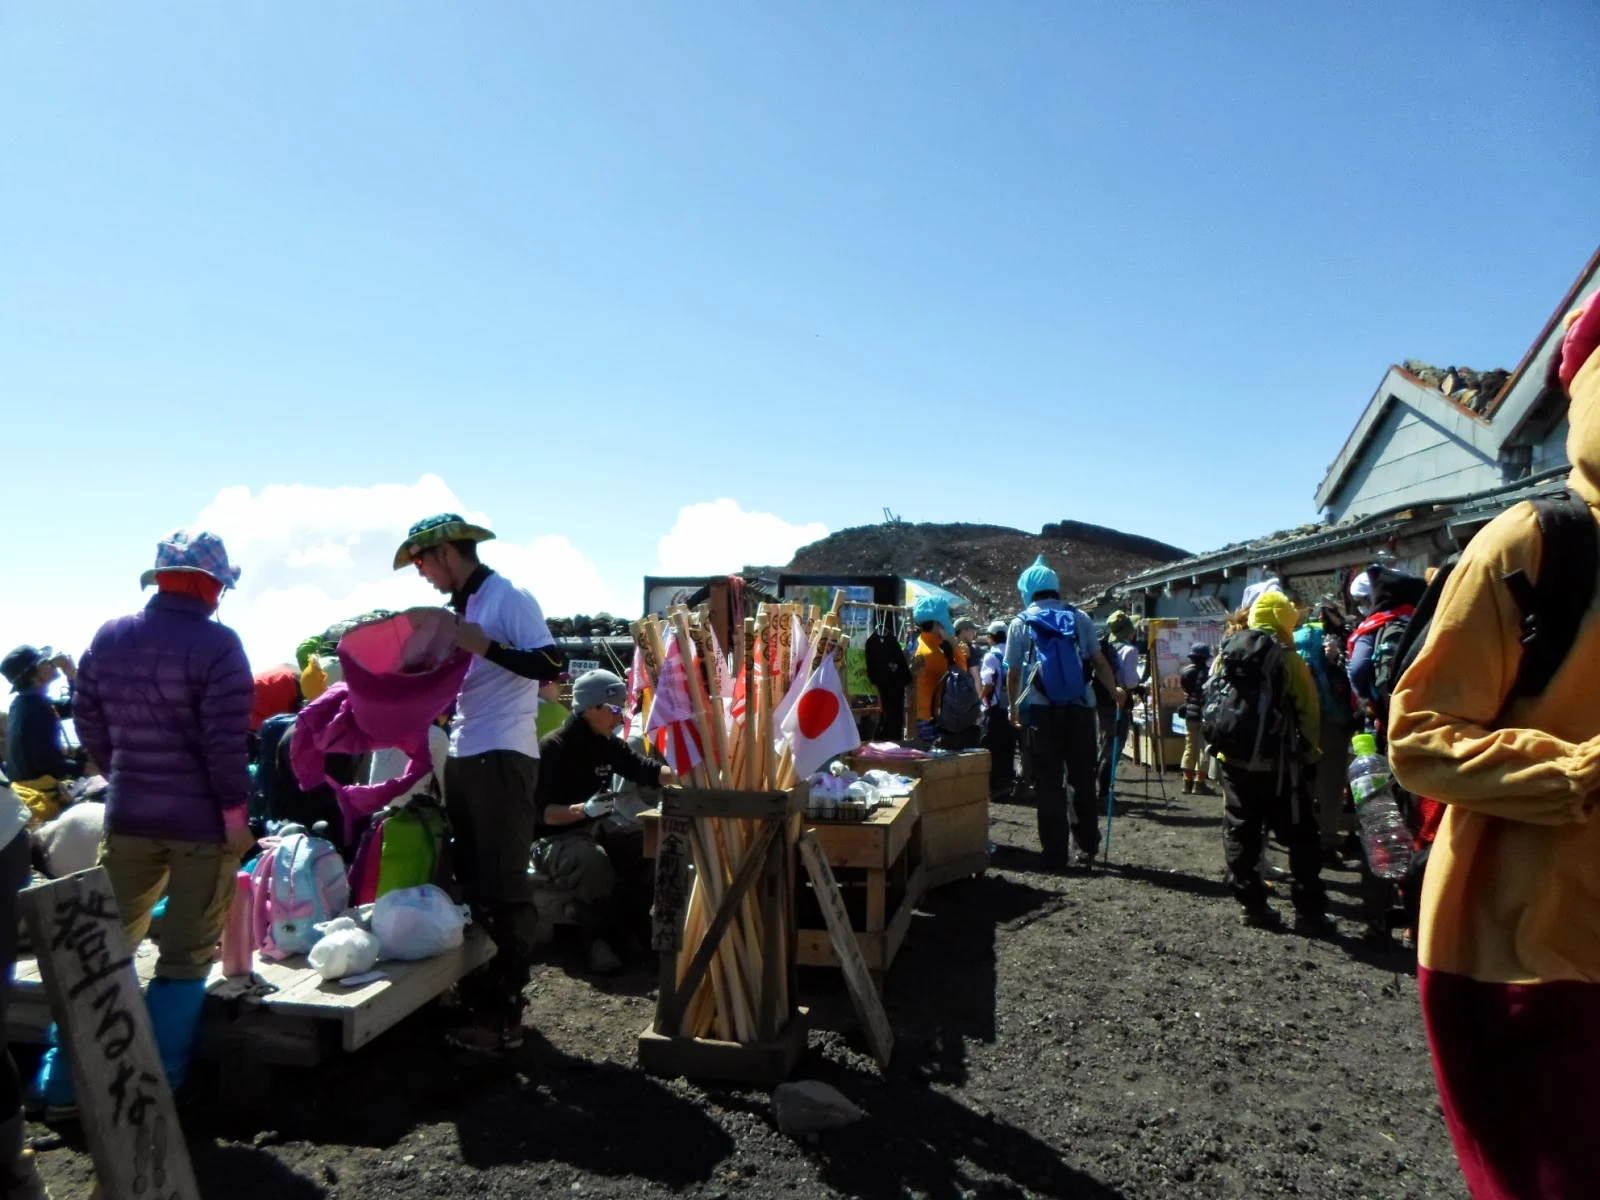
The round trip bus ticket to Fuji 5th station costs 2000 ¥ and the ride takes about an hour. Upon reaching the 5th station, I was greeted with a sea of hikers and tourists. For those who do not wish to hike, there are plenty of activities at the 5th station to keep you busy. To climb Mt Fuji, you do not need to apply for the climbing permit nor do you need to engage a guide. Hiking alone in a foreign land all by myself? I was a little apprehensive. Where do I start? Would I lose my way? Is it really safe? I decided to tag along a group of hikers, so that I do not 'stray' and take the wrong route. The Yosidah trail is generally the most common and popular route to take. I started my hike around noon and I reached the 8th station around 3pm, where I would be staying for the night at the hut. To catch the sunrise at 4.30am, you would need to start the ascent around 11pm or 12 am. I decided to start later as I did not want to hike in the dark. I reached the summit around 9am. I was pleasantly surprise that there were stalls set up to sell souvenirs. To walk round the crater would take an hour and the descent will take another 3-4 hrs. It was really tiring to have walked for a good 8 hours the second day. It was not a difficult climb, and you do not need any special equipment. Just keep calm and keep walking ...
Journey to Hakone
To get to Hakone, I took the bus to Gotemba. At the bus terminal, I had to take another bus to Sengokuhara where I would be staying for the night. Hakone is a favourite place for the Japanese for its onsens. I had only 1 day to explore Hakone and I managed to cover Lake Ashi and Okwanduni. In Hakone, one has the opportunity to try the different modes of transportation - Hakone Tozan railway, cruise and the ropeway. It is worthwhile purchasing the Hakone Free Pass if you are planning to stay 2 -3 days there.
Journey to Takayama
The ride from Hakone to Takayama is approx 4.5 hrs by train. I took the Shinkansen (bullet train) at Odawara station and had to transfer at Nagoya for the limited express train. I arrived Takayama in the afternoon and went on to explore the old town. Takayama is famous for their Hida beef, which is comparable to Kobe beef. I went to Shirawakago, a UNESCO World Heritage site the next day. There are many other scenic spots which aren't far from Takayama, probably an hour or two, which you could explore if you are intending to stay longer in Takayama.
Back to Shinjuku
For my return journey to Shinjuku, I decided to take the express bus instead. I dread the idea of having to carry my backpack, and the need to transfer train. The ride took about 5 ½ hours and cost 6,500 ¥. You will be happy to know that the expresses buses are equipped with a restroom. Also, the bus make 3 stops along the way. This gives you time to get off the bus to have a good stretch and grab a bite at the same time! It has been a great experience going on this exploration for the 9 days that I was there. I am grateful to the people who are forever so helpful when you approach them. Apart from the places of interest and good food, it is the people who have made my trip memorable.


Comments
Post a Comment